Upload or edit an image in X1
 Updated
by
Heather Jones
Updated
by
Heather Jones
If needed, you can “pop out” the Photos window so that you can keep it open while continuing work on the project. To do so, select POP OUT. When you are ready to close the pop out window, either select POP IN or close the window.
To upload an image from your computer to the estimate:
- Open an estimate.
- Select Photos in the left menu to open the Photos window.
- To upload an image from your computer to the estimate, select Load Images.
- Navigate to and select your file in the window that appears and select Open.
- Select the image in the Photos window to edit the Image Name, Date Taken, and Taken By fields.
Note: Accepted formats include .jpb, . jpeg, and .png.
- You can select the Exclude from reports box and/or add a description, as needed.
To edit an image:
- In the Photos window, select the Edit button.
- Edit the Image Name, Date Taken, and Taken By fields.
- You can add lines, ellipses, rectangles, or text to your image as well as remove them via the editing options at the top of the screen.
- You can zoom in or out using the + and - icons, or you can rotate your image by using the curved arrow icons.

- You can also delete the image by selecting the trash icon and can adjust the image defaults by selecting the settings icon.

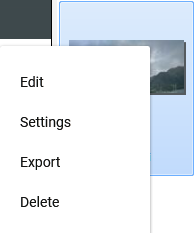
Note: You can also access the Edit, Settings, Export, and Delete options for individual images by right-clicking the image and selecting the option from the dropdown menu that appears.