Using the photo archive
 Updated
by
Heather Jones
Updated
by
Heather Jones
Before Xactimate uploads a project to the cloud, it creates an archive of all the images within that project. You can access archived photos for up to 14 days in case of data corruption or accidental deletion.
Archive settings
To turn the archive on or off, navigate to Settings > Archive photos and switch the toggle on or off.
To modify the number of days for which the archive saves photos, navigate to Settings > Archive duration (up to 14 days). When you select the field, a slide-in menu appears in which you can choose the number of days. Once you make your selection, Xactimate returns you to the Settings page and displays the number of days you selected. You can also tap above the days menu to return to Settings.
Restoring photos
When restoring photos, the associated project can be in your local list or in the cloud, but if you do not have the project on your local list when you restore the archive, Xactimate downloads it, attaches any missing images, and then re-uploads the project. If the project is in the local list, it remains there throughout the process.
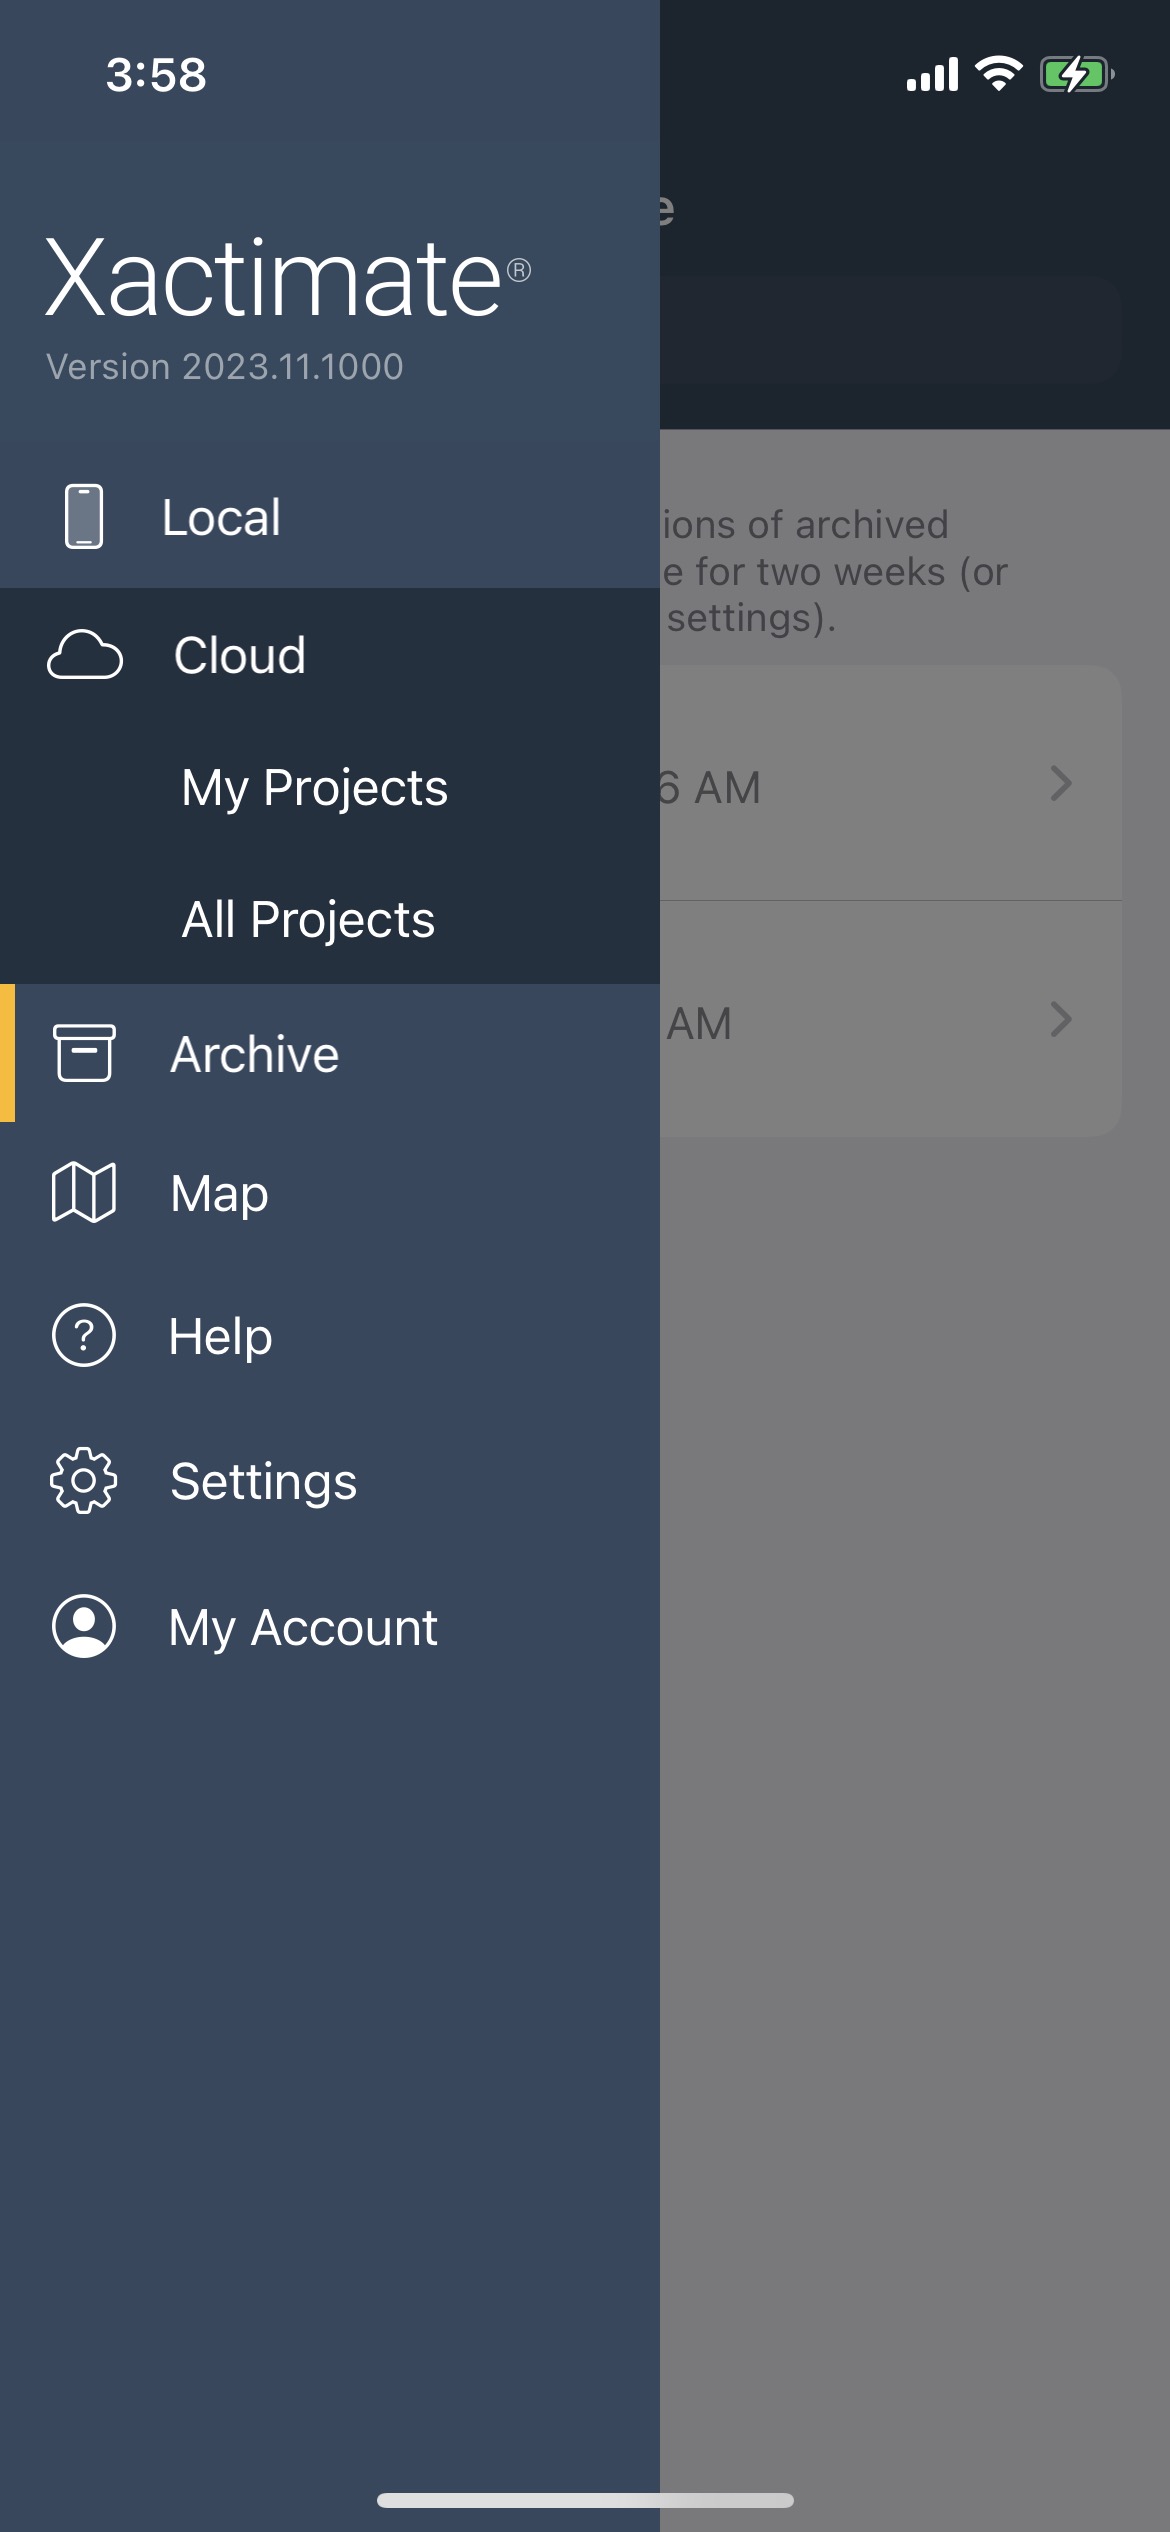
If you need to use the archive to restore photos, exit any open projects to return to the main Xactimate screen.
Complete the following:
- Navigate to Archive from the main navigation menu.
- Select the appropriate project.

- Restore the images via the appropriate option.
- Select the Export icon to save the files to your device.
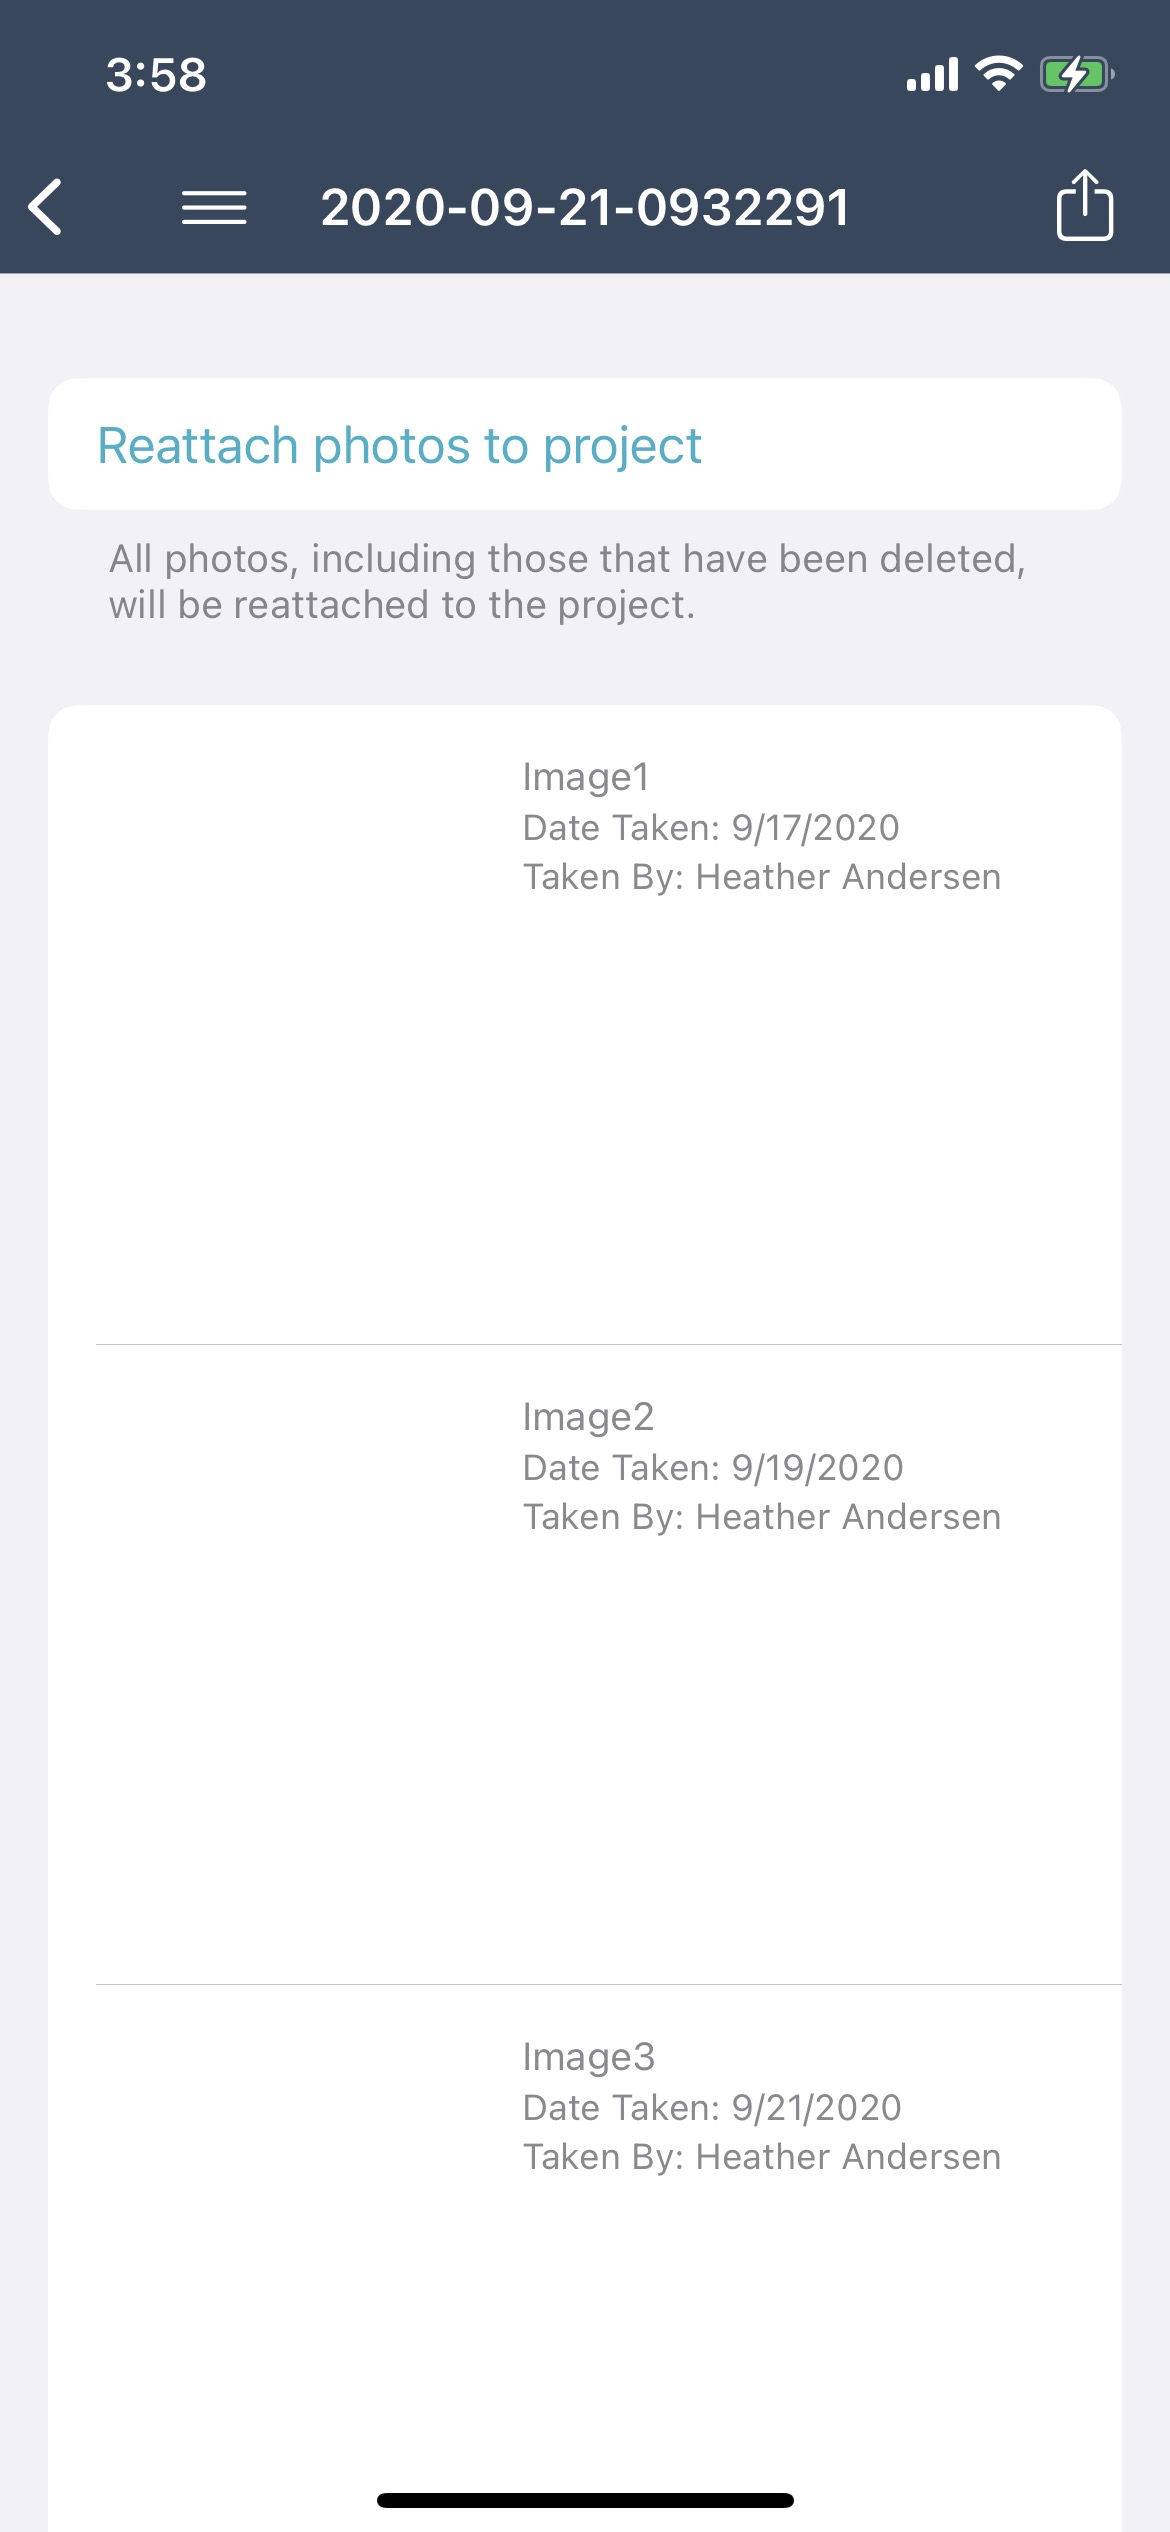
- Select Reattach photos to project to restore the images.