Using roof types in Sketch
 Updated
by
Heather Jones
Updated
by
Heather Jones
About roof types
To learn more about what roof types are available in Xactimate, and what they each look like, see the following Xpert Tip:
Adding a roof in sketch
- Within a project, navigate to Estimate > Sketch.
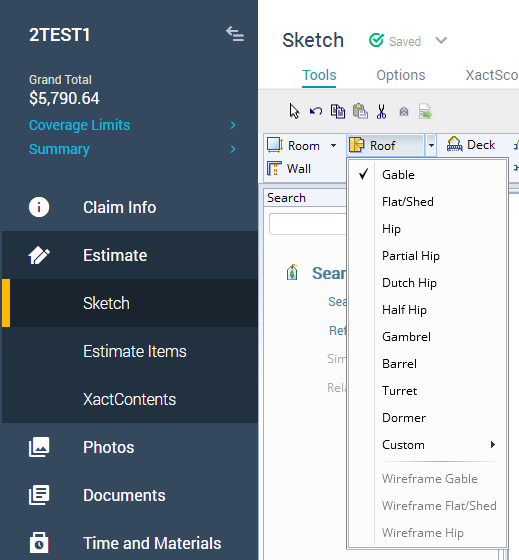
- Select Roof to place a gable roof (or whichever roof type you last used in the current session).
To place a different roof type, select the dropdown arrow next to the Roof button and choose the roof type from the options that appear.
- An outline of that roof appears next to your cursor.
- Place the roof by clicking and dragging in the Sketch workspace (as you would a room).
Change roof type after placement
To change roof types (or settings) after the roof has been placed, complete the following:
- Open the roof properties by double-clicking the roof name or by selecting the roof and then the properties icon that appears.

- In the properties window, under Dimensions > Roof Type, select Gable (or whichever roof type it currently has) to open the dropdown menu.
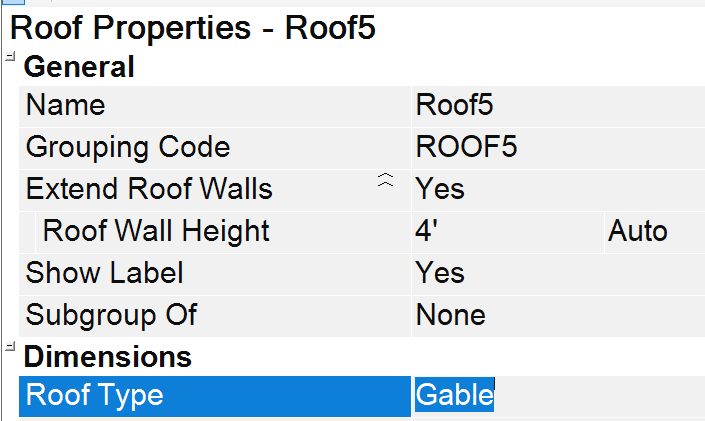
- Select the appropriate roof type from the list.
- Adjust sizing, slope, roof height, and other dimensions as necessary within the properties window or in the sketch itself.