XactScope Roof and Exterior for iOS
To use XactScope Roof and Exterior in mobile, you must first add a wireframe roof (for Roof) or exterior walls (Exterior) in Xactimate desktop or online (see Creating an XactScope roof and exterior sketch for details); you cannot add these elements in Xactimate mobile.
You also cannot add roof equipment such as pipejacks or gutters in Xactimate mobile, but you can split walls and group them (see ___ for details). If you need to add these, you must do so in Xactimate desktop or online. You can, however, add and edit actions for roof faces and exterior walls.
Actions and items
When you are ready to answer the Action prompts and add items, open the Actions screen and complete the prompts (for more information on actions and adding items in XactScope, see Using the Script pane in XactScope). To access the Action screen and add items, complete the following:
Roof
- Within Sketch, ensure you have the Exterior level open (
 > Exterior).
 - Select the XactScope icon (
 ) in the upper right.
 - Select Roof.
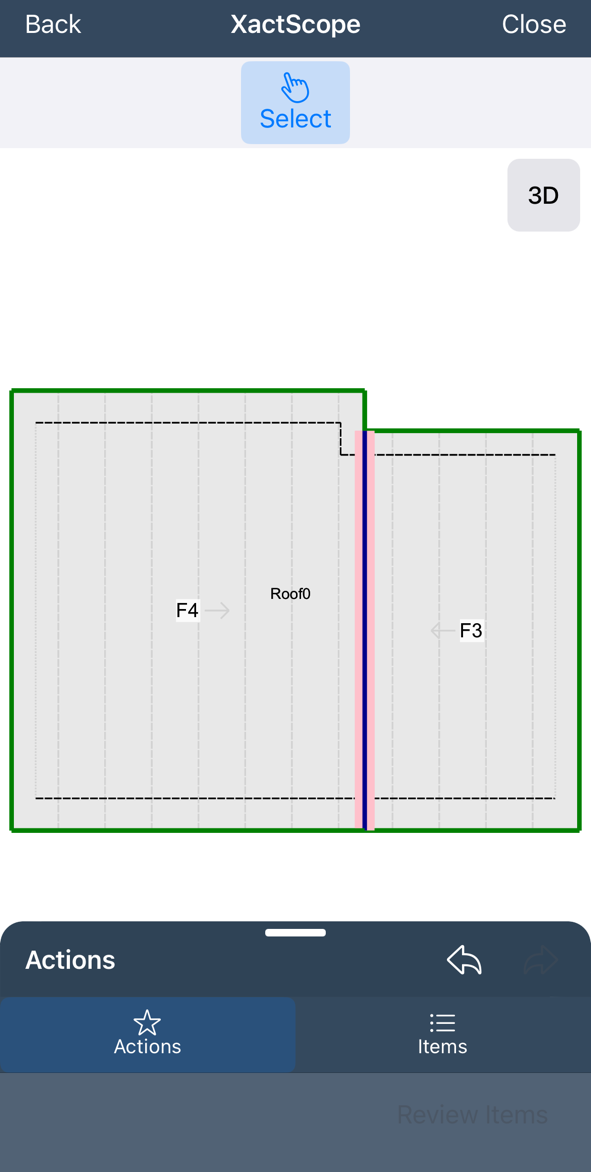
- When Xactimate returns to the sketch, select the portion of the roof to which you want to add actions or items.
- Answer the prompts as appropriate for that portion of the roof.
- Select Review Items to review the items the prompts generated.
- Select any items you want to review. To return to the Items list from any specific item you are reviewing, select XactScope in the upper left.
- If needed, return to the Actions tab to change your prompt answers, which can change the items.
- When the actions and items are correct, select Add Items to add them to the estimate.
- Once you add the items from XactScope, you can view and edit them as you would any other line item.

Exterior
- Within Sketch, ensure you have the Exterior level open (
 > Exterior).
 - Select the XactScope icon (
 ) in the upper right.
 - Select Exterior.
- When Xactimate returns to the sketch, select the wall(s) to which you want to add actions or items.
- Answer the prompts as appropriate for that wall.
- Select Review Items to review the items the prompts generated.
- Select any items you want to review (note that you cannot make any changes to items here). To return to the Items list from any specific item you are reviewing, select XactScope in the upper left.
- If needed, return to the Actions tab to change your prompt answers, which can change the items.
- When the actions and items are correct, select Add Items to add them to the estimate.
- Once you add the items from XactScope, you can view and edit them as you would any other line item.

Working with exterior walls
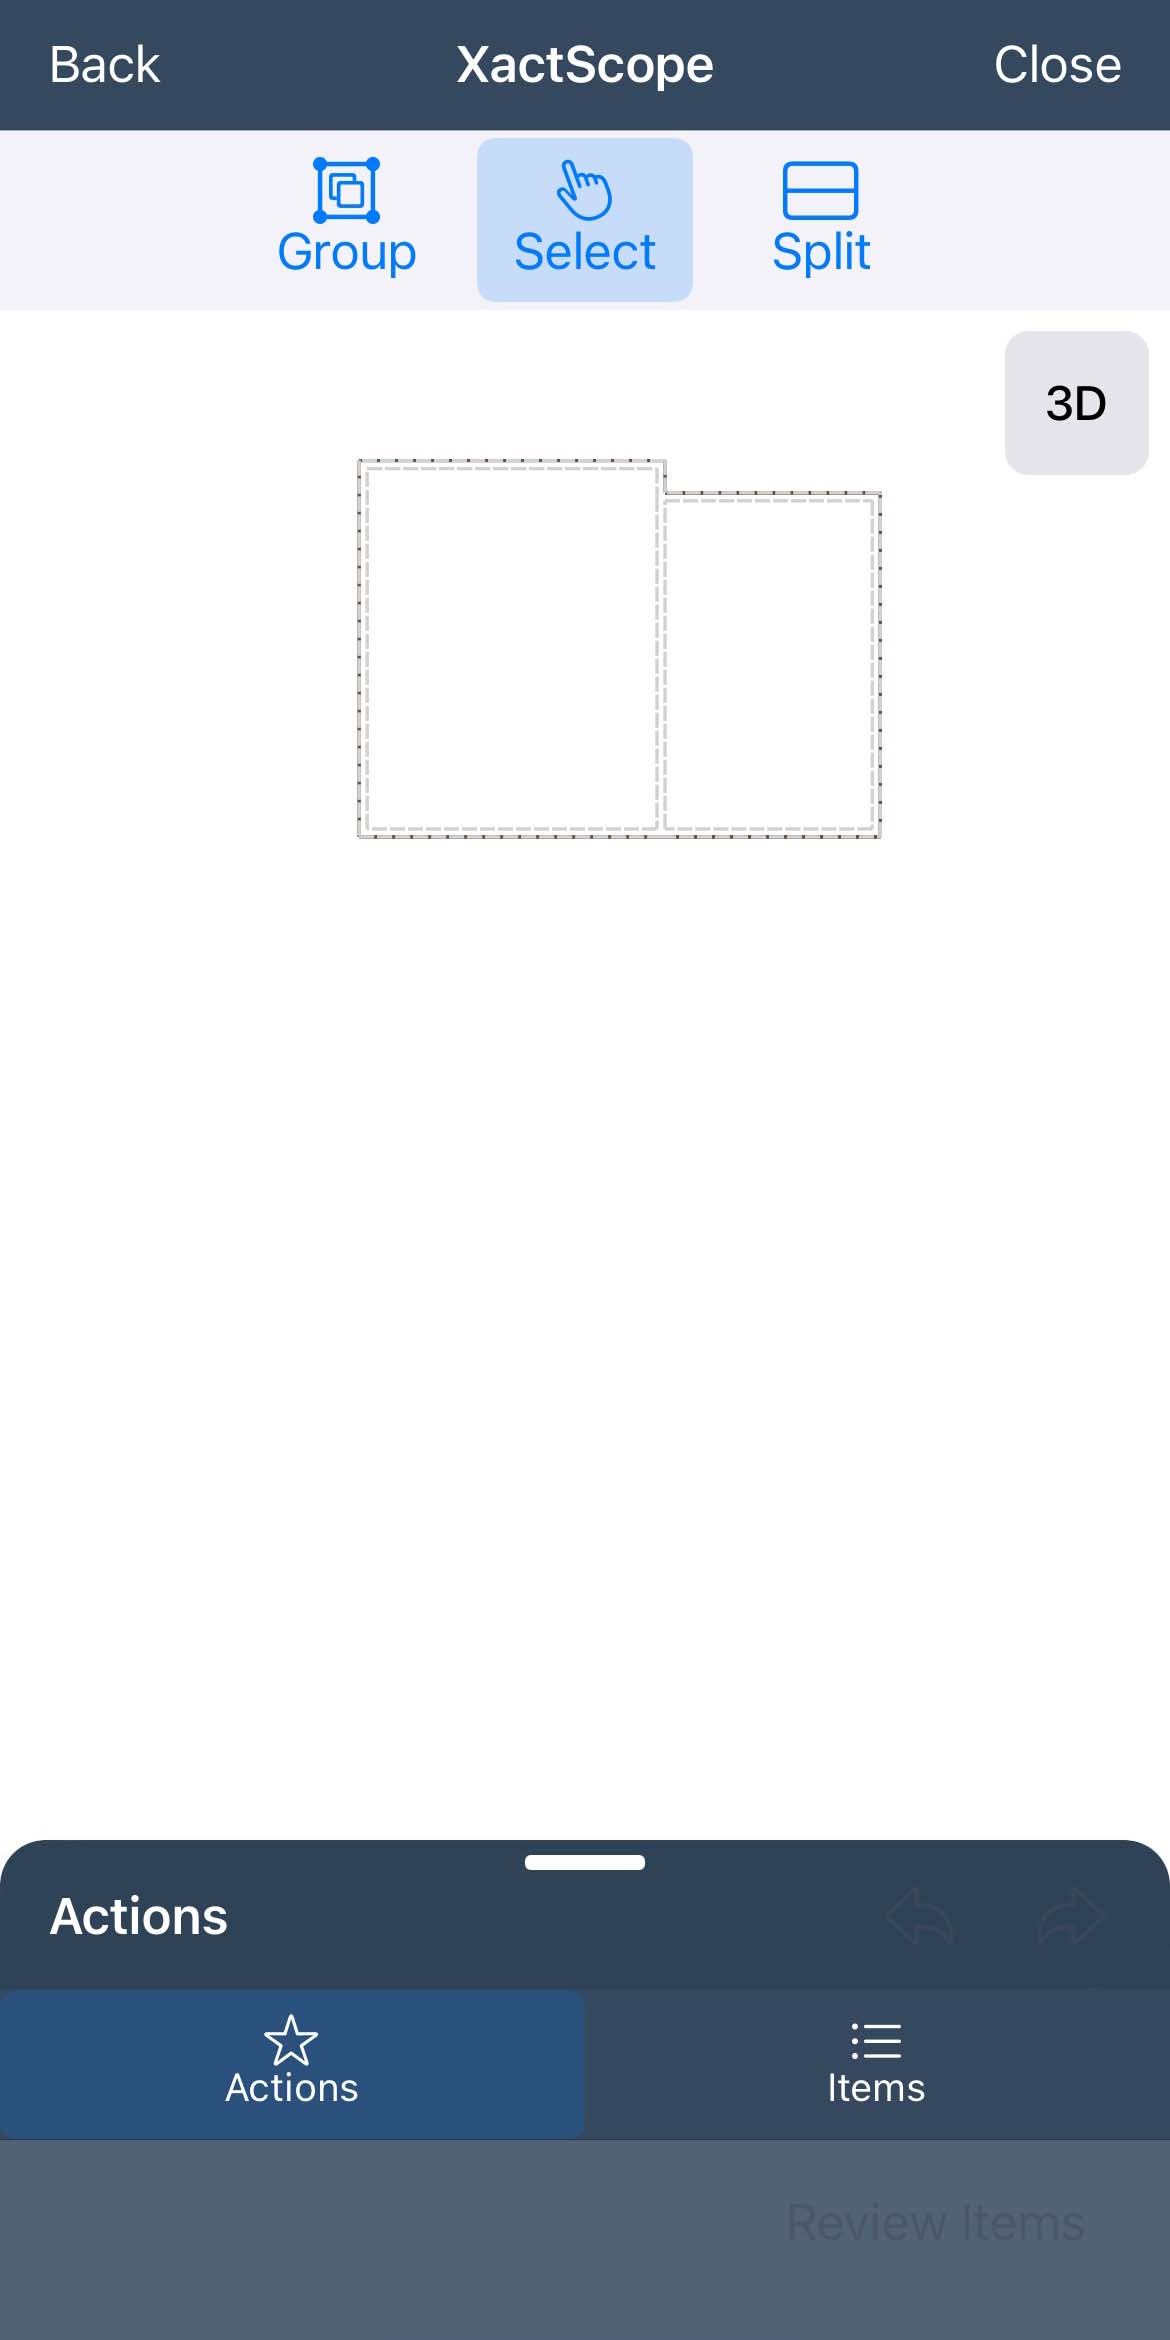
To better view the exterior walls, use the 3D view by pressing the 3D button. Drag your finger on the screen to adjust the angle of your view as needed to access all the appropriate walls. Edit exterior walls in the same way you would edit regular walls: either use the 2D view to make general adjustments or use the 3D view to change heights or to view window, door, and other positioning within the walls.
Split walls
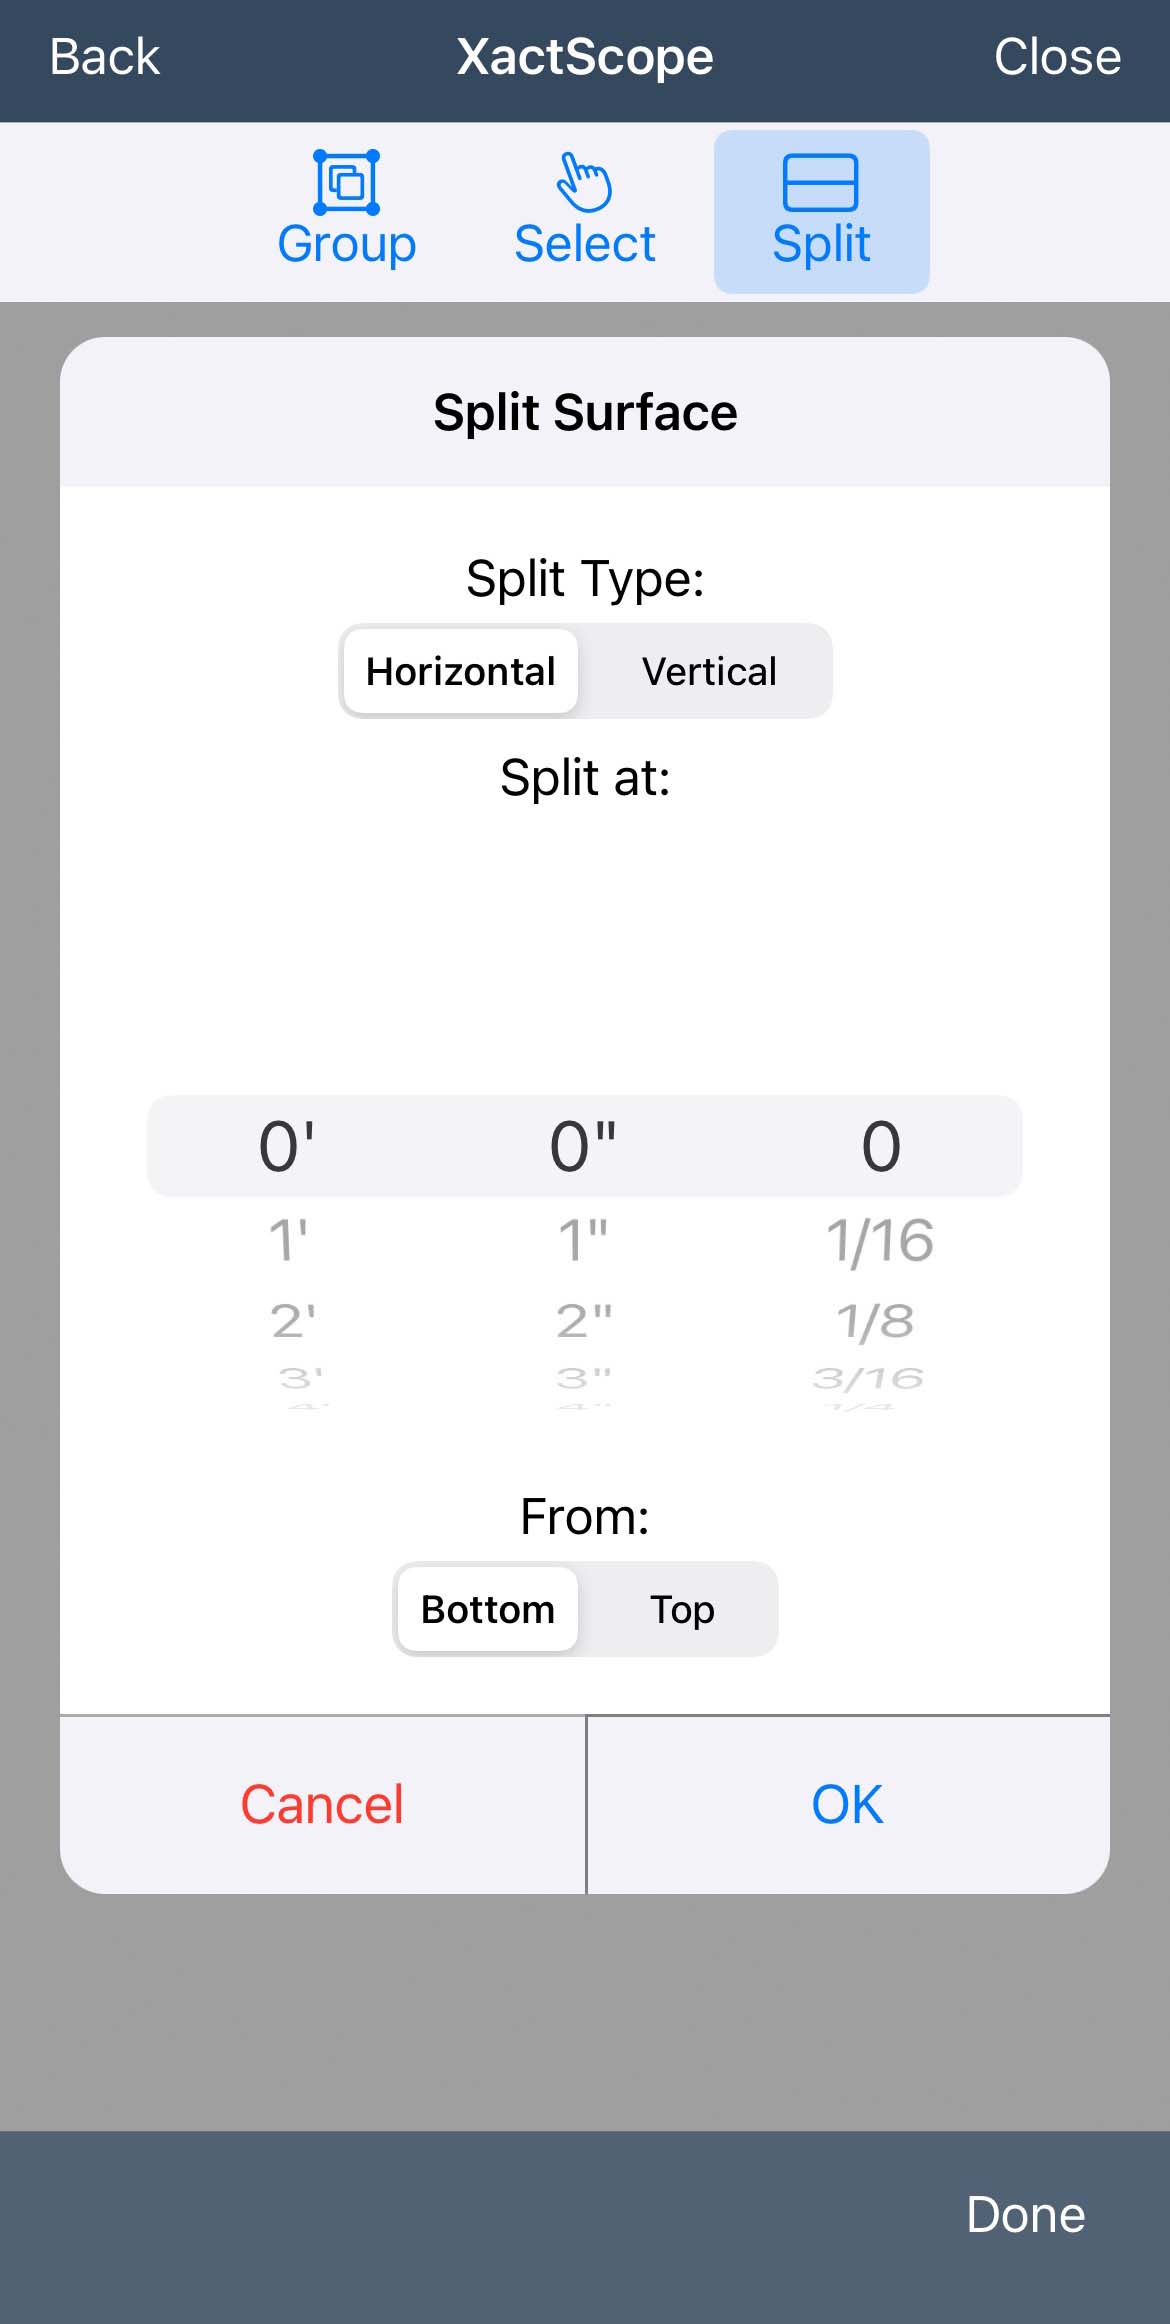
Use the Split tool (located with the other sketch tools at the top) to divide an exterior wall. This allows you to have multiple surface materials on one wall (such as rocks on the bottom portion and stucco on the top portion). Use the menu to make your adjustments.

Groupings
Groupings allow you to define the elevations of the sketch, making it easier to organize estimates and to know which side of the property needs each item. Be aware, however, that if you create groups after you add items to the project, the items disappear, and you must recreate them. To avoid losing items from answered prompts, be sure to define the groups before answering prompts.
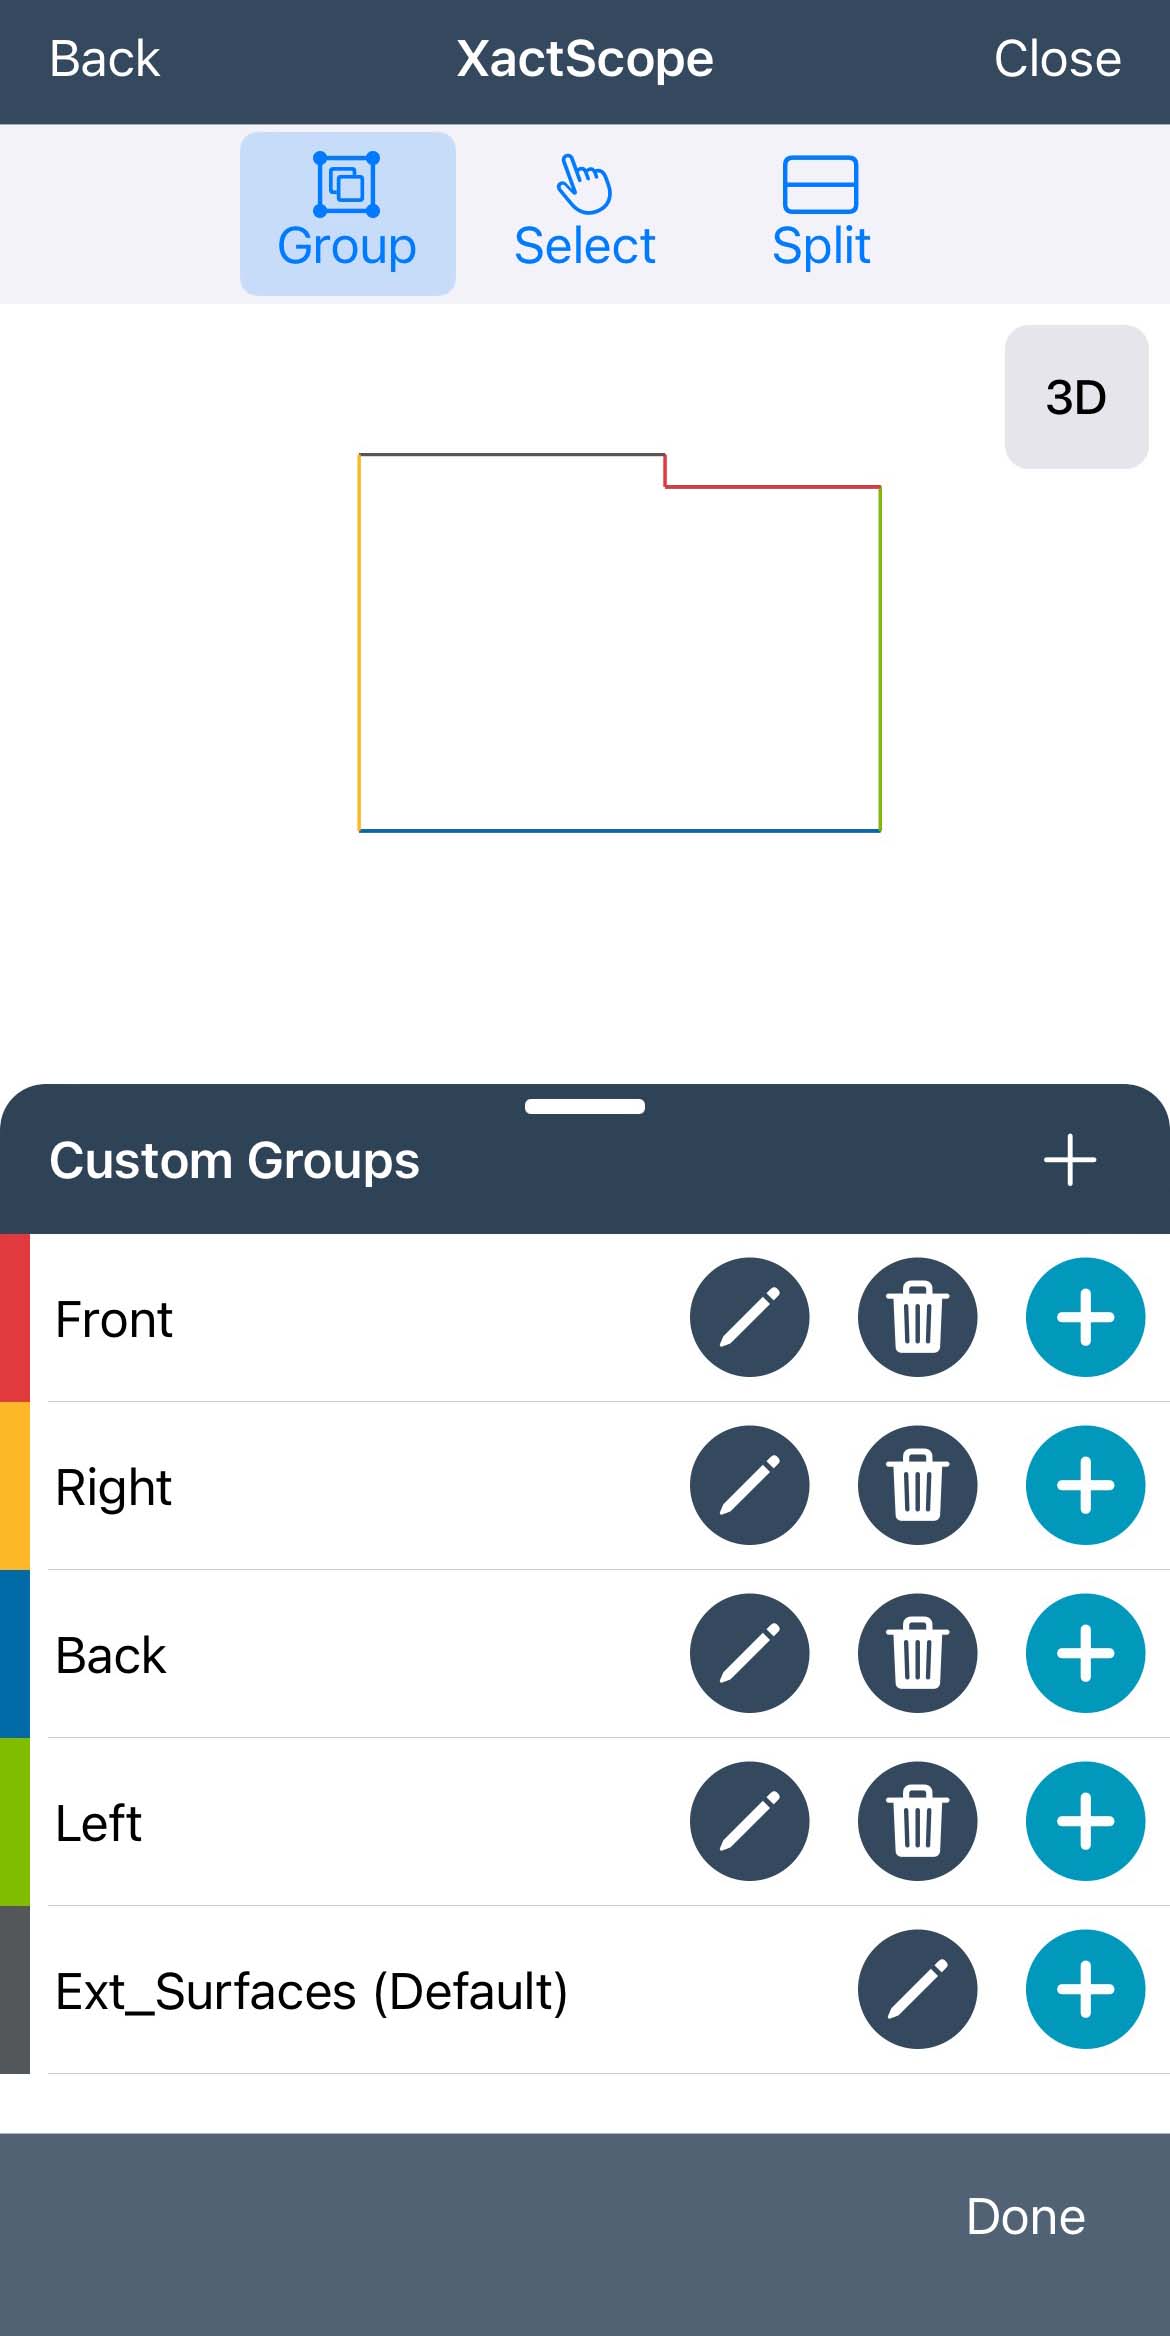
To group walls, open the Exterior level sketch in XactScope (see Exterior Steps 1–3) and select Group from the options at the top. In Xactimate mobile, you can only select one wall at a time.
For each wall you want to group, select it, find the group you want in the Custom Groups pane and select the plus button for that group. If you want to create a new group, select the plus button at the top of the list.
Add as many walls as needed to each group, and either ignore or remove the groups you do not need. Once you add a wall to a group, the wall takes on the color associated with that group. Groups that you create default to gray, and you cannot change the group colors. You can, however, rename any of the groups to reassign existing colors as needed. When you exit grouping mode, the walls revert to the original sketch color, but the groupings remain in effect.

