Add or edit a company header in X1
 Updated
by
Heather Jones
Updated
by
Heather Jones
Company headers are customized headers that appear at the top of your company's project documents.
Company headers appear in reports at the top of each page. They can include the company logo, name, and motto (or anything else you deem appropriate).
Accessing your company headers
- From the project dashboard, select Preferences in the navigation menu on the left.
- Select the Project tab.
- Under Reports, select the list icon (
 ) next to the Company Header field.
- To view an existing shared company header, choose it from the list and select View. When finished, select Close.
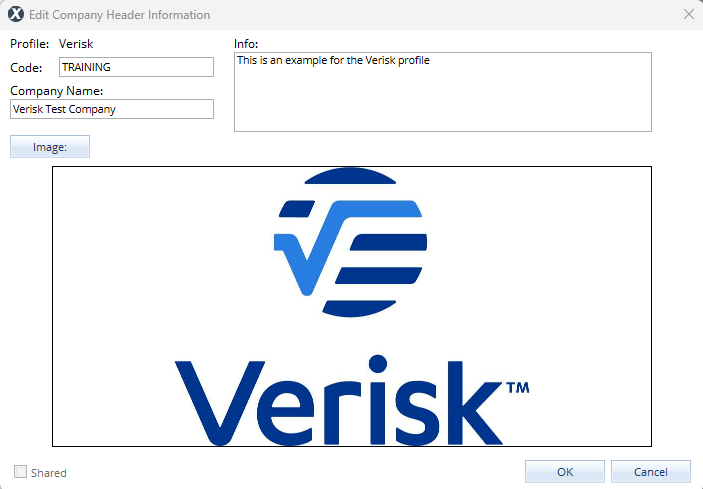
- To add a personal header, select Add. Enter the Code*, Company name, Info, and Image, then select OK.
- To edit a header you already created, choose it from the list and select Edit. Make your changes, then select OK. If you want to add any additional information, such as a company address, add it in the Info field.
- To delete a header you created, choose it from the list, and select Delete.
Note: You can only edit and delete headers that you yourself created.
- Select OK to save your header and return to the Preferences page.
Formatting your company header
The fields in the Add/Edit company Header Information window correlate as shown in the reports:
Company Header Information window
Report

Adding headers to projects
You also can create a header or statement from within a project, but it will only be saved to that project and will not be available to other projects in the profile. If you are editing an existing one, those edits are saved to the profile.
- With the project open, navigate to Claim Info > Parameters > Report Text.
- Select the list icon for the header or the statement you want to use.
- Modify the statement or header as already described.