Sketch view settings
 Updated
by
Heather Jones
Updated
by
Heather Jones
Dimensional views
You can switch between the 2D and 3D views by selecting the button at the bottom right of the screen. The text changes based on which view you are currently using. If you are viewing the sketch in 2D, the button says 3D; if you are viewing the sketch in 3D, the button says 2D.
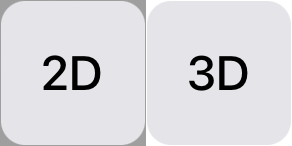
2D view
The 2D view shows the sketch in a blueprint-type view, looking down from above. It is very basic and generally does not include textures, only color differentiation to mark object types.
Tap and drag two finders on the screen to move the sketch. You can zoom in and out by bringing your fingers closer together or moving them apart.
3D view
The 3D view shows more detail, such as doorframes and window lattices, and it allows you to see the surface of walls, railings, and fences.
Tap and drag one finger on the screen to change the angle of your view. You can zoom in and out by bringing two fingers closer together or moving them apart.
View settings
Many view settings do not apply to 2D, such as footings, framing, and ceiling surfaces.
To enable these settings, complete the following:
- Select the settings icon (
 ) in the top right.
 - Scroll down to the appropriate view setting.
- Select the switch on the right of the setting row. It is on when it turns blue and the white circle is on the right.
Some settings, such as Footings and Deck Framing, only appear if the appropriate objects have them enabled. To enable these settings in their incorporating objects:
- Select the object (a room or deck).
- Select the properties menu icon (
 ) from the bottom right.
 - Scroll to the CONSTRUCTION section.
- Select the appropriate setting (Floor, Wall, Footing, Deck, Deck Footing, and Railing) to open the associated options.
- Change to the appropriate option (the options vary by object).
- Select Close to return to the sketch.