Creating an XactScope water mitigation sketch
 Updated
by
Heather Jones
Updated
by
Heather Jones
Initiating water mitigation with XactScope
Water Mitigation tools make it easy to accurately record the scope of water damage to a property. This includes the removal of various materials, labor, and calculations for equipment such as air movers, air scrubbers, dehumidifiers, etc.
To use XactScope for water mitigation, first create a Sketch floorplan in Xactimate via Estimate > Sketch (or import the sketch). Once you have created your sketch, switch to the XactScope tab at the top of the Sketch window.
The script pane appears on the left of the Sketch workspace, which is where the prompts will appear later. The dropdown in the top-right corner of the script pane allows you to switch between Mitigation and Roof & Exterior. If you need to change the floor plan, switch back to the Tools or Options tabs, make your changes, and return to the XactScope tab. Be aware that the Mitigation script only functions with the interior layers, and Roof & Exterior only functions with the Exterior layer.
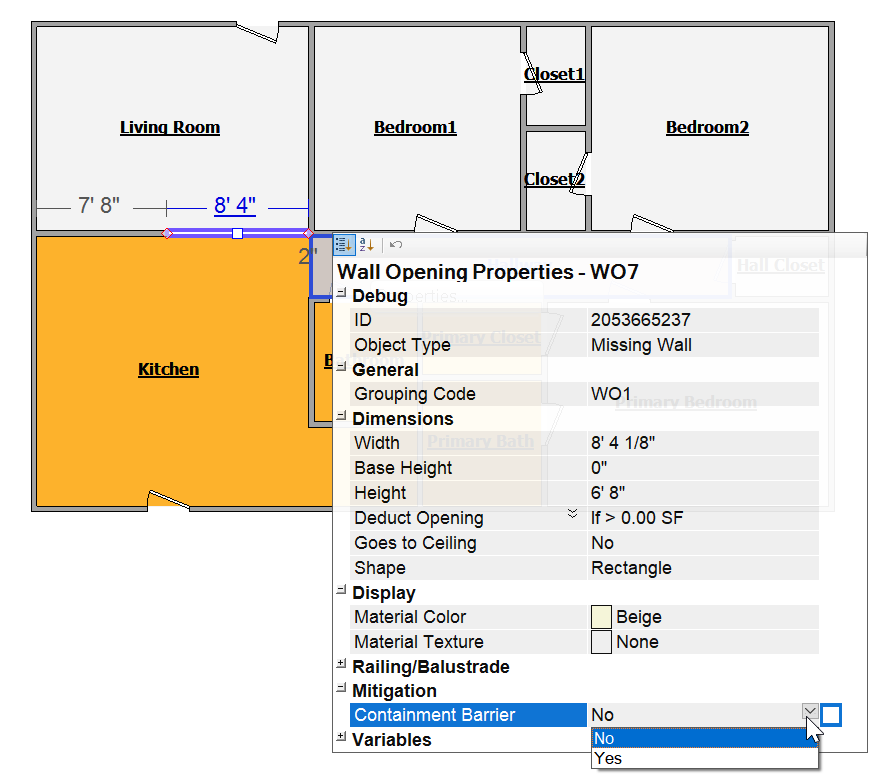
Barriers
When performing mitigation, contractors place barriers between zones to contain the environments. You can set barriers in Sketch where there are openings between rooms (such as doors or missing walls) by double-clicking an opening and setting the Containment Barrier property to Yes. If a barrier needs to split a room, you must first create a missing wall where the barrier will be placed and then add the mitigation barrier.
Adding equipment and contents
One of the most powerful aspects of XactScope mitigation is the equipment calculations. XactScope uses the affected surface areas, the volume of the rooms and zones, the existing offsets within rooms, and other factors to make calculations and suggests quantities in the various equipment sections of the prompts. These calculations follow industry standards such as the IIRC S500.
You can place such equipment (air scrubbers, dehumidifiers, etc.) as well as contents (bathroom furniture, kitchen appliances, etc.) within the sketch to help simplify the process and obtain accurate cost estimates.
If you add equipment to your estimate, XactScope automatically adds them to the items in the estimate. They are also grouped according to the groups or rooms in which they are placed. If you add contents to your estimate, you can select either the containing room or the object itself to see and answer the prompts related to the object, which adds the appropriate repair and material costs to the items list.
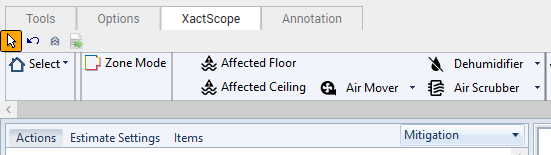
To place either equipment or contents, open the XactScope tab and verify you have Mitigation selected in the drop-down menu. With Mitigation selected, the ribbon populates with all the equipment and contents that you can place. Each item is housed within a drop-down menu for the appropriate category, such as Dehumidifier, Air Scrubber, Bathroom, etc. Select the arrow to the right of the appropriate category to find the item.

Once you have found the appropriate item, select it and tap or click wherever you wish to place it within the sketch. The item will appear in that location and the related prompts will appear in the Actions tab. The prompts do not require answers, so they do not increase the number of unanswered prompts, but they are available for you to customize the actions and materials needed.
Equipment you add to the sketch is automatically added to the items list, but you can customize the use of the equipment by answering the prompts. Contents items are not automatically added, and you must answer the related prompts to indicate what is needed before the appropriate items are added to the list of items in the estimate.
Affected areas
Use affected areas to define the area that has been damaged by water or other contaminants. Xactimate uses the affected areas to calculate amounts and to determine the prompts presented.
There are three distinct types of affected areas, and all appear gray in color with a green outline.
Floor affected areas.
You can place them in rooms in three different ways once you select the Affected Floor tool under the XactScope tab:
- Click-and-drag to place a rectangular affected area. This can overlap multiple rooms or only cover part of a single room.
- Double-click within in a room to have the affected area cover the entire room floor.
- Create a freeform area by single-clicking at an edge of the area then clicking the location of the next edge of the area; continue until you have outlined the entire area and closed the area by selecting the original point. This can overlap multiple rooms or only cover part of a single room.
Wall affected area.
These appear in the Sketch 3-D view in solid gray. They are marked in plan view with a green line along the affected area of the wall. You can access the Affected Wall tool in 3-D view, and you can place affected wall areas in three different ways:
- Place flood lines by right-clicking anywhere in the affected room (in either 3-D or plan view), selecting Add Affected Areas to all Walls from the drop-down list that appears, and choosing the height to which the flood line exists. The affected area appears around the entire room from the floor to the height you selected.
- Double-click a wall to place an affected area over the entire wall surface.
- Create a freeform area by single-clicking at an edge of the area then clicking the location of the next edge of the area; continue until you have outlined the entire area and closed the area by selecting the original point.
Ceiling affected area.
You can make ceilings visible in the 3-D view by turning on or off the ceilings from the view menu (View dropdown > Ceiling Surface (Shift+C)). Place ceiling affected areas in the plan view by using the same methods as used for floor affected areas (but with the Affected Ceiling tool).
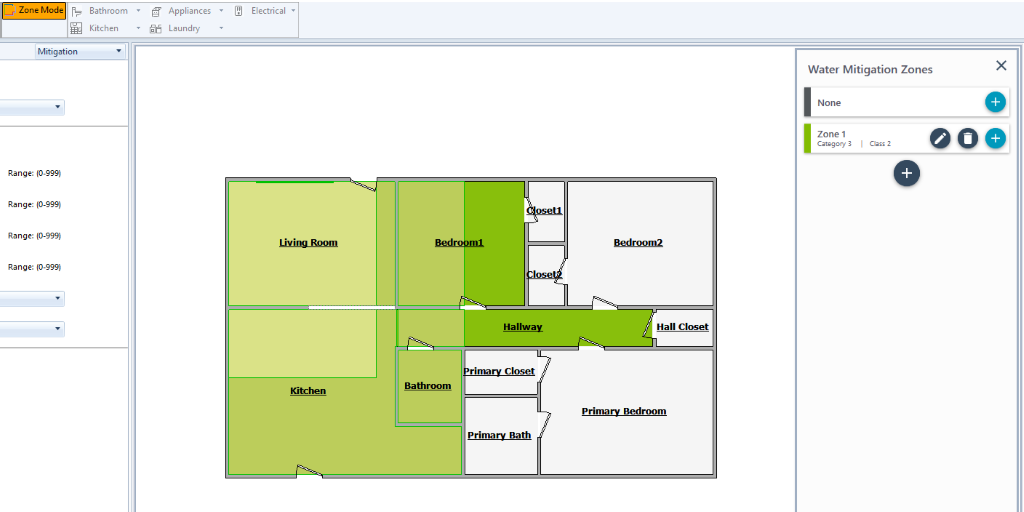
Zones
Zones are designated areas that consist of multiple rooms that all received a specific type of water damage (Category 1, 2, 3, or 4) or all need to be calculated in the same way. Each room can only be part of a single zone, so if you need two separate zones in the same room, open the Tools tab and use the Wall tool to split the room. Next, combine the split rooms into a single room group and place each portion in a different zone.
To set a zone:
- Open the XactScope tab and select the Zone Mode button.
- Press
 to add a new zone.
- Name the zone.
- Set the category of the water in that zone.
- Select the checkmark to finish creating the new zone.

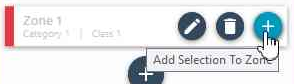
- Select the room(s) to be added to the zone.
- Select the + button for the new zone you just created.
The rooms included in zones appear in the same color as the left edge of the zone in the Water Mitigation Zones list. When finished setting zones, close the Zones window.