Adding affected areas and objects in mobile XactScope sketches
 Updated
by
Heather Jones
Updated
by
Heather Jones
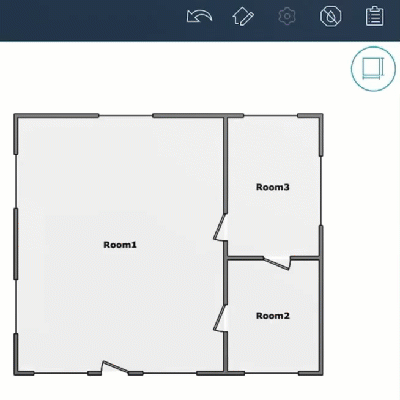
XactScope in Sketch allows users to delineate areas that have been affected by an event, which we call affected areas. It also allows users to place, in the sketch, items (such as cabinets, appliances, bathtubs, etc.) that are affected. The process for all of these is relatively the same as with other elements in Sketch but with slight variations.
Once you create the main sketch and are ready to add items and areas for water mitigation, open the sketch and enable XactScope:
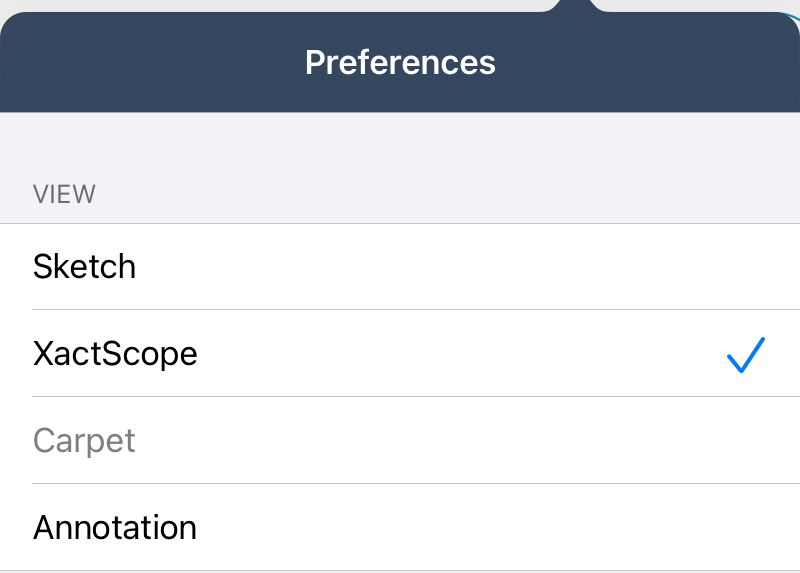
- Select the settings icon to open the Preferences menu.
- Select the XactScope view to enable affected areas and items.
Affected areas
Affected areas allow you to mark areas of walls, ceilings, and floors that need water mitigation.
Placing affected areas
When placing affected areas, select the appropriate area icon from the vertical menu and then select the appropriate sizing option from the horizontal menu (see XactScope water mitigation for iOS for details on this menu). Place the area according to the following:
Walls
The option for affected wall areas is only available in 3D view. To switch to 3D view, select the 2D option at the bottom right.

Floors

Ceilings

Select one of the following to mark the affected area:
- For freehand areas, tap and drag on the screen to form the shape you need. End the line encompassing the area where it began to close the area; if you do not end where you began, Sketch connects it for you with a straight line from your ending point to your starting point.
- For rectangle areas, tap and drag on the screen from one corner of the intended area to the opposite corner. Sketch automatically creates the rectangular area based on the imaginary line you drew from corner to corner.
- For areas that encompass entire rooms or walls (labeled Fill or Wall), tap the screen somewhere within the intended room or wall, and Sketch automatically creates an area that includes the entire space. Note that for walls, Xactimate lets you specify the height across the entire wall.
Modifying affected areas
You can also modify freehand and rectangular areas by tapping the area to select it and then tapping and dragging from a corner or point along the outline.
Note: If the outline is red when you release, Sketch will reject the change and revert to the shape it had before you attempted to adjust it. The red indicates that the shape is invalid (either because it covers multiple rooms or the shape does not meet certain criteria).
Objects
Placing objects
To place XactScope objects in the sketch, select the appropriate category from the vertical menu and then select the appropriate item from the horizontal menu. Once you have selected the appropriate item, tap the screen where it should be placed. You can move items that have already been added by tapping the center and then tapping again and dragging to the appropriate place.
Items with individual sizing needs, such as cabinets, can be placed like rooms or rectangular affected areas: tap and drag on the screen from one corner of the intended area to the opposite corner. Once created, you can move these, but you cannot change their shape.
Item categories
The item categories are as follows:
Plumbing

Cabinets

Appliances


Electrical

Water mitigation equipment
