XactScope water mitigation for iOS
 Updated
by
Heather Jones
Updated
by
Heather Jones
To use XactScope for mobile, create a project and sketch as usual and open your sketch on your iOS device.
You can now place affected areas, water mitigation equipment, and objects in mobile (see Adding affected areas and items in mobile XactScope sketches) as well as add and manage zones. To place the water mitigation equipment in your sketch, open the project sketch and select the water mitigation equipment option in the flyout menu.
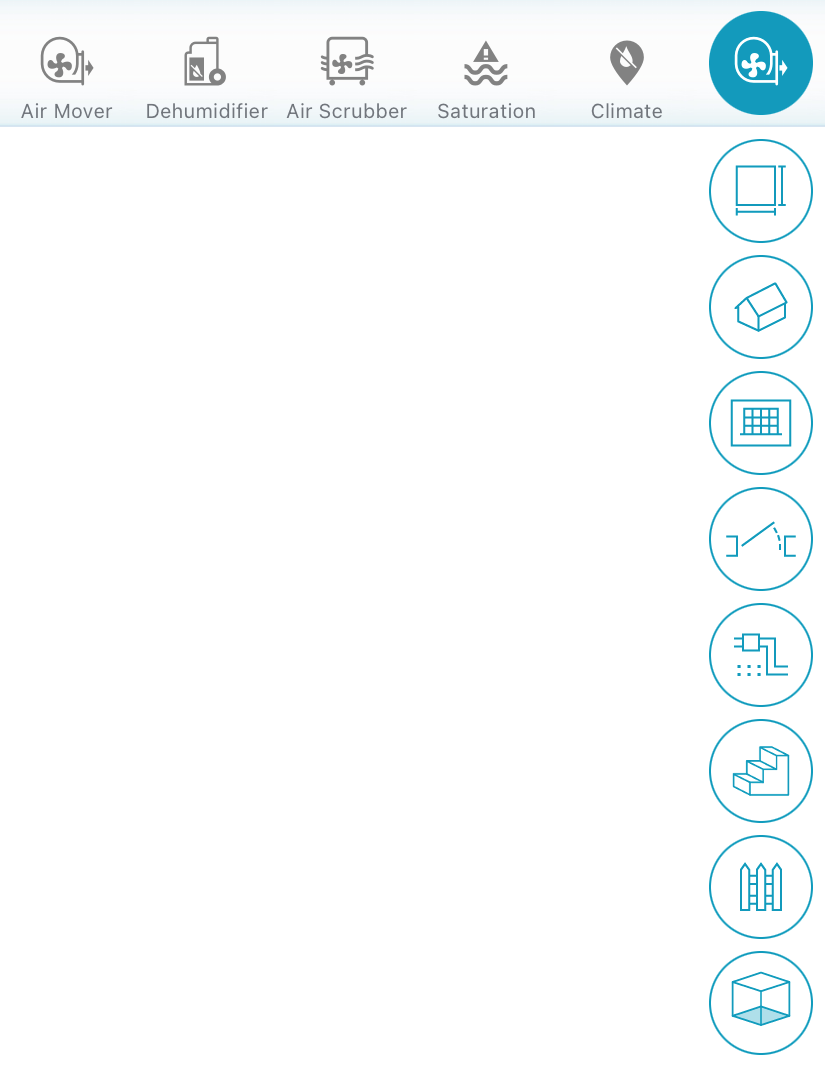
Select the equipment icon you want and tap the sketch in the location you want it placed. The Properties window opens immediately once you place the icon. Use this window to edit the name, readings, carpet status, etc. Tap outside the Properties window to close it. You can access the properties again by tapping the icon on the sketch.
To add or edit zones and to enter or view daily readings, select the Water mitigation option ( ) at the top of the screen to open the window.
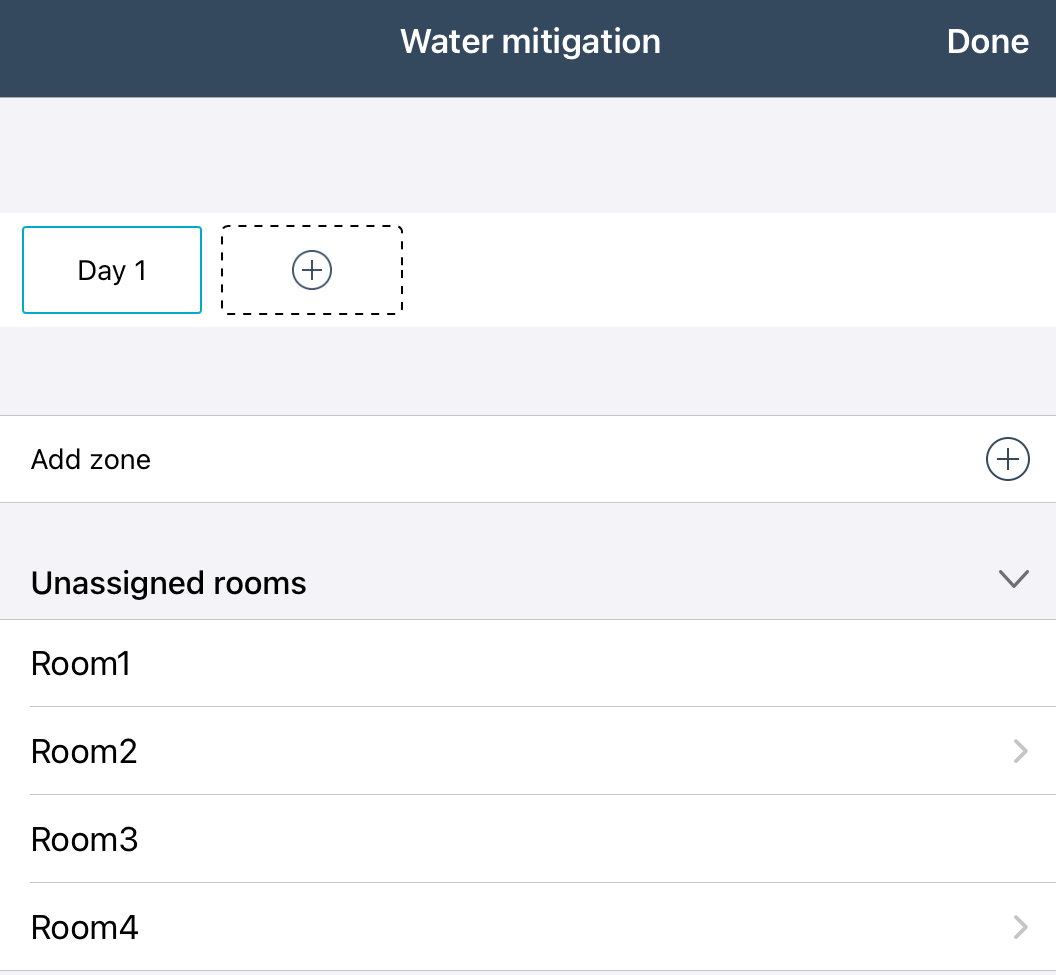
- To add a zone, select the plus button to the right of Add zone. To add a zone, select the plus button to the right of Add zone and then select the appropriate rooms (any rooms already in a zone do not appear in the available list).
- To enter or view water mitigation data select the appropriate day (add a day if necessary), select the room in which the equipment runs, and select the equipment or reading type. From there, you can add your data. Use the relevant return arrow to go back a page or select Done to close the window. (You can also add data through the Properties window for each equipment icon.)

- To add a climate reading, select Climate (
 ) from the water mitigation equipment options and tap the sketch where you want the reading to be located. This opens a Properties window in which you can enter a name and reading. You can return to this climate reading point and add or edit data by selecting the icon on the sketch and selecting the Properties icon (
 ) that appears in the bottom right to open the window.
 - To add a saturation reading, select Saturation (
 ) from the water mitigation equipment options and tap the sketch where you want the reading to be located. This opens a Properties window in which you can enter a name and reading. You can return to this saturation reading point and add or edit data by selecting the icon on the sketch and selecting the Properties icon (
 ) that appears in the bottom right to open the window.
You must return to X1 to answer the prompts and complete your estimate.