Adding stairs in Sketch AR
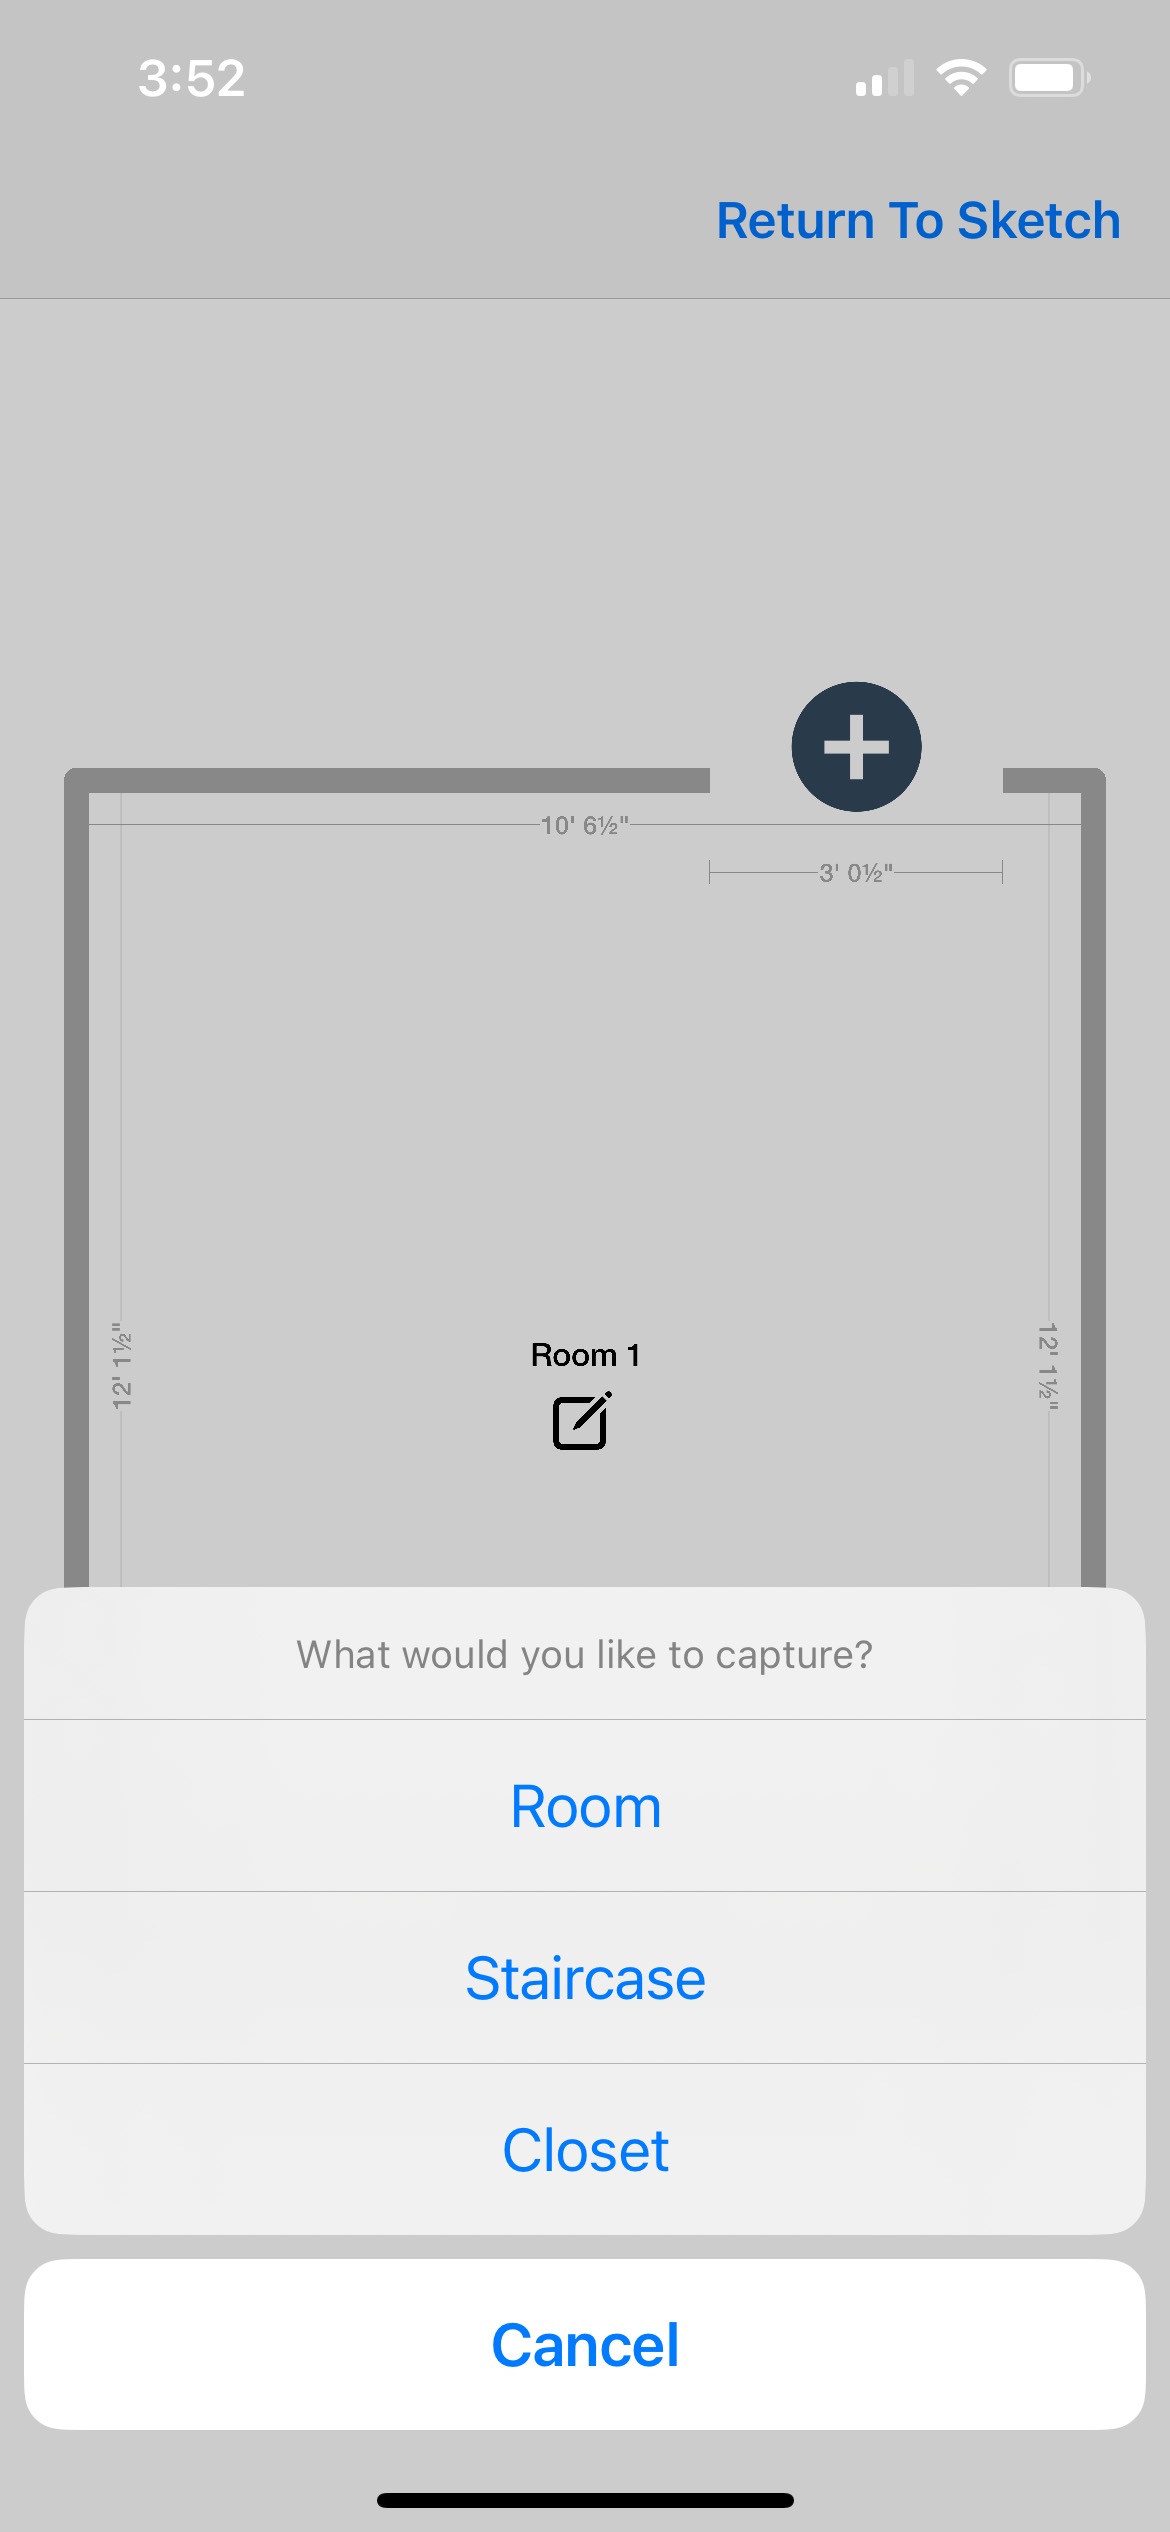
To add stairs through Sketch AR, first create the room that connects to the bottom of the flight, including the opening where it meets the stairs. Once you complete that, and the room is visible on the screen, instead of selecting Return To Sketch, select the + icon in the opening. This gives you the option to add an additional room, a staircase, or a closet. Select Staircase and complete the following steps:
Stair capture
- Capture a corner of the stairs where the riser meets the lower landing.
- Capture the adjacent corner to mark the bottom of the stairs (and to record the full stair width).
- Capture a corner of the stairs where the riser meets the upper landing.
- Capture the adjacent corner to mark the top of the stairs (and to record the full stair width).
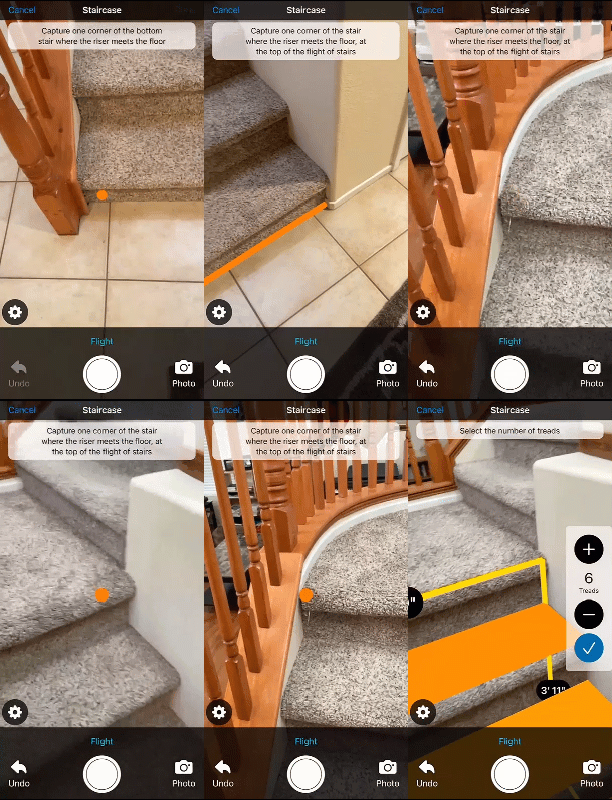
Once you have captured both the top and bottom of the flight of stairs, Xactimate displays the stair framework with a likely number of treads.
- Set the correct number or stairs by either of the following:
- If the number is correct, select the checkmark icon to accept the number of treads.
Or
- If the number is incorrect, use the + and – icons to add the right number of treads and then select the checkmark.
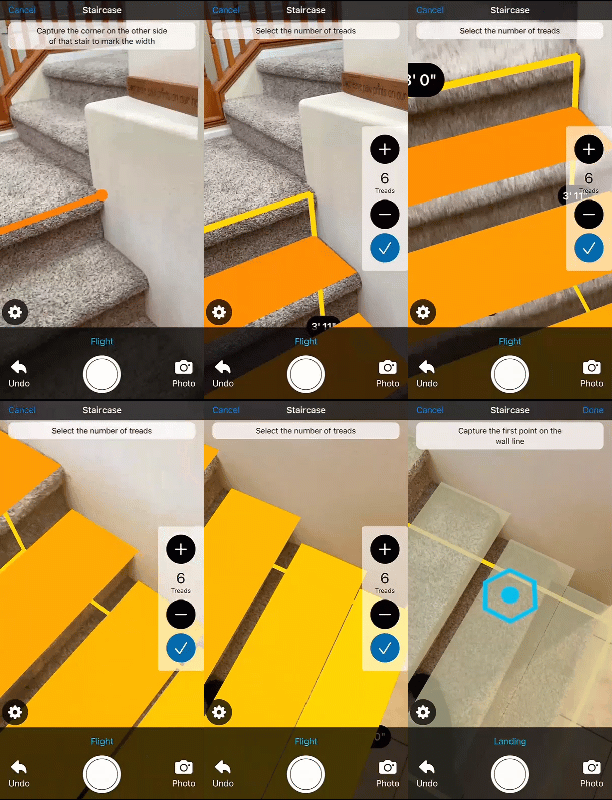
Landings
- Add the landings as you would a room.
- When the landing is complete, if you need to add another flight of stairs, select the arrow icon.
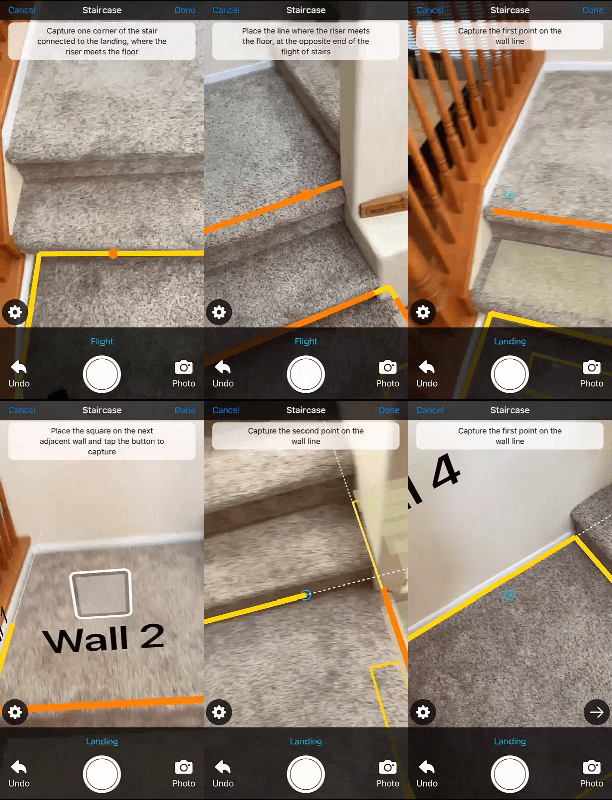
Wall type
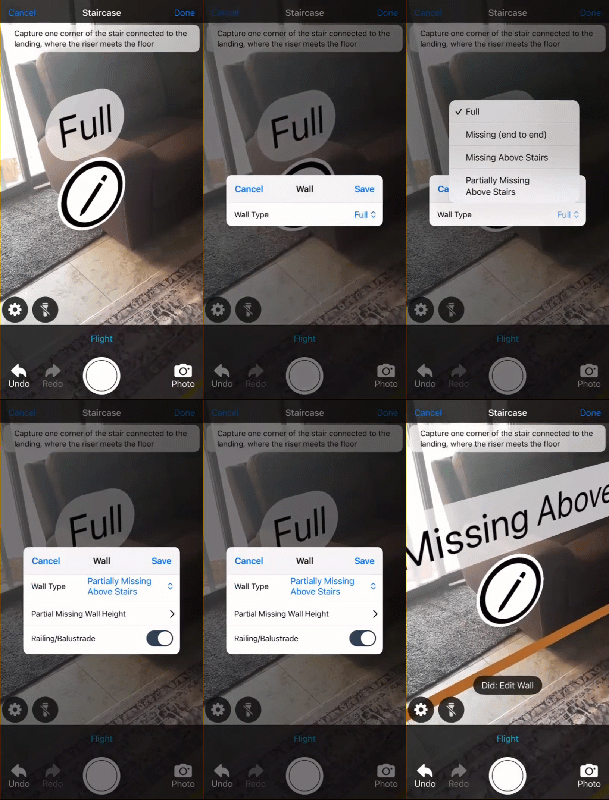
You can modify the wall type for each wall around the stairs from within Sketch AR (you can still make changes in Sketch, if preferred). To do so, pan to the wall and select the edit icon (it appears under the wall type). Make the change in the screen that opens, and select Save.
- When you are done with the stairs, select Done.
