Using Single Object Recognition to add contents via camera
 Updated
by
Heather Jones
Updated
by
Heather Jones
Accessing object recognition
The following devices work best for object recognition (if you use a device other than those listed, you will be notified of its reduced quality and performance):
iPhones
- iPhone 8/iPhone 8 Plus
- iPhone X or newer
iPads
- iPad Pro (11-inch): any generation
- iPad Pro (12.9-inch): 3rd generation or newer
- iPad Air: 3rd generation or newer
- iPad Mini: 5th generation or newer
- iPad: 8th generation or newer
To access Object Recognition in your project, navigate to Estimate in the left menu (or XactContents). Under List View, select Start Estimate. In XactContents instances, XactContents opens directly to the list view.
Select the appropriate folder to open the contents search screen (on smaller screens, you may need to make your selection and then tap Add > Items).
In the list item window, select Contents at the bottom to open the Contents Search.
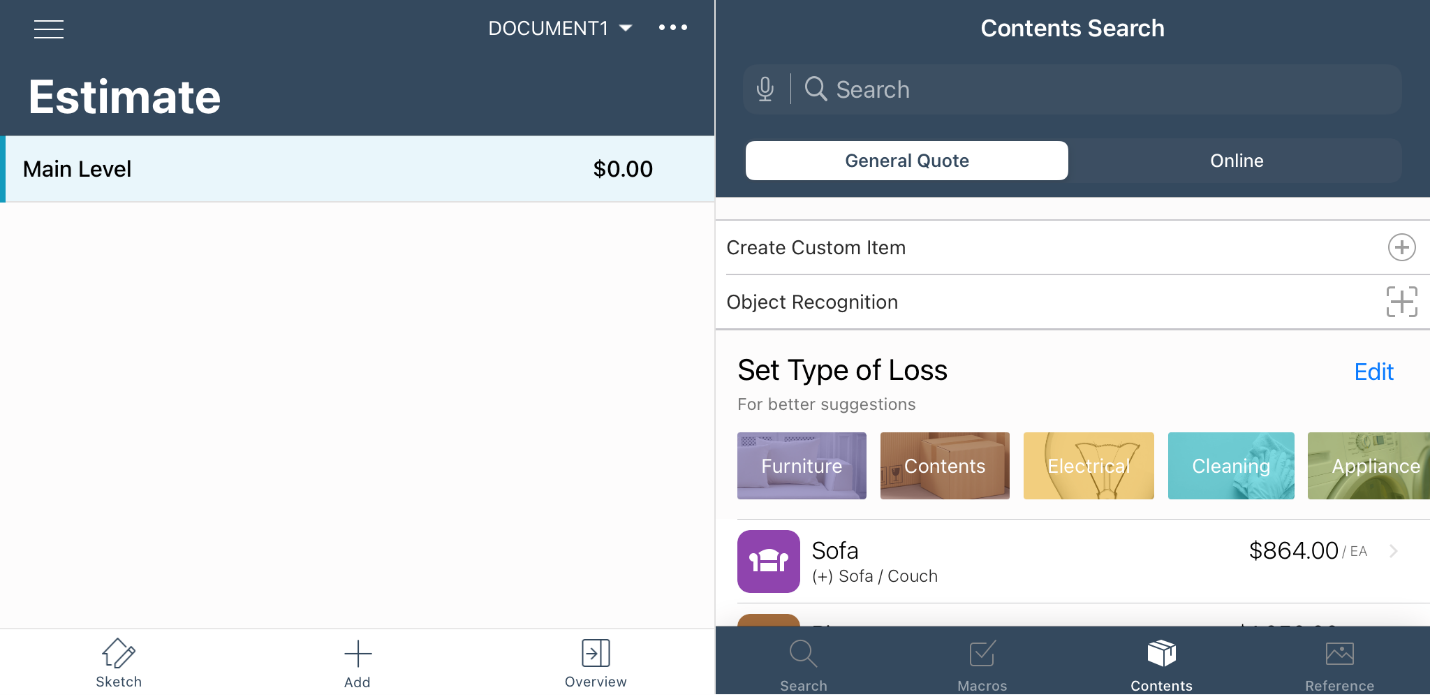
Select Object Recognition to open the tool. If it is your first time using it, a screen appears to inform you that you must give Xactimate access to the camera.
Note: You can also open your sketch and select the inventory icon ( ) in the top right, then navigate to Contents > Object Recognition from within that window.
If, while using object recognition, you need a reminder of the instructions to follow, select the help icon ( )at the top right of the screen.
Single Object Recognition

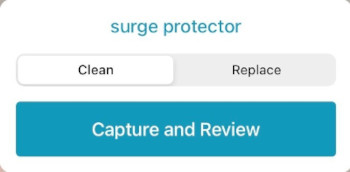
With the tool open, angle the device so the camera records the object you are adding, Once the correct item name appears in the bottom sheet, select Capture and Review to take a picture and review the item. If you do not get an accurate object name in the window despite trying multiple angles, select Capture and Review anyway (but be sure the item is visible on the screen) to open the Object Recognized window and edit the item.
This screen provides an entry for the item recognized as well as a list of line items that potentially match it. You have a few options to proceed from here:
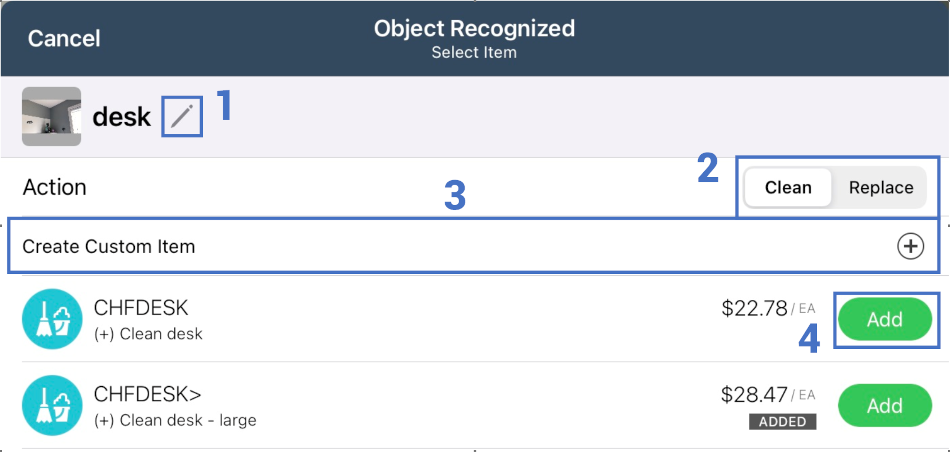
- If the recognized object is incorrect, select the edit icon to open the Edit Object Name window. In this window, select the Object Name field and enter a new name to match the item in the image you captured. Select Submit to return to the Object Recognized window, and new results appear to reflect the name change. The information is also submitted to Xactware so that results can improve over time.

- If you need to change the action, select either Clean or Replace. Replace populates the list with replacement items; clean populates the list with tasks and equipment.
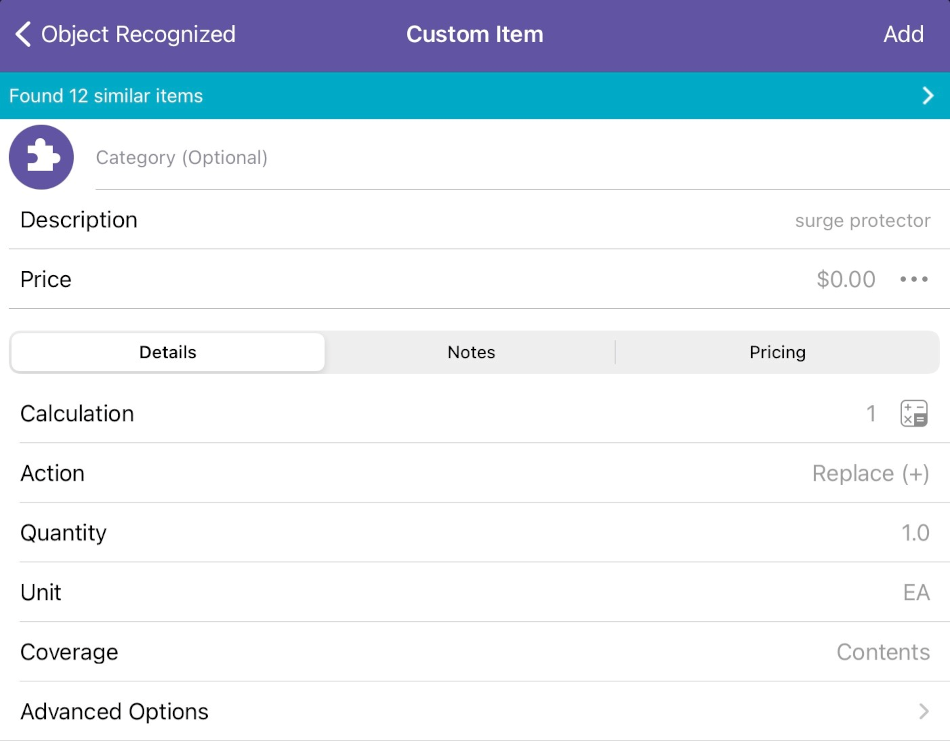
- If an appropriate line item does not appear, select Create Custom Item to create your own line item in the Custom Item window. Here, you can edit the description, price, notes, etc. Once you have created an item to your satisfaction, select Add to add it to the estimate.
- When you find the correct item in the item list, tap Add in the item row to add it to the estimate.