Add a room under the stairs in X1

- Create a stairway on the Main level going up to a second level.
- Create a level below by right clicking on the Main level tab and selecting Insert level below.
-
-
Make sure the elevation is lower than the elevation of your main level.
- Exit the Level properties window by clicking out of the window.
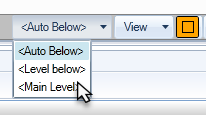
- Change the view from <Auto Below> to <Main Level> to see an outline of your Main Level Sketch on your new lower level.
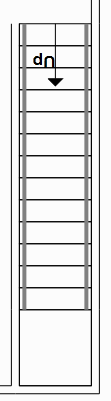
- Using the dotted outline of the stairs, sketch a room with the same dimensions as the stairwell.
- Open the room properties by clicking
 .
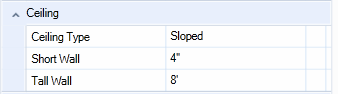
. - Change the ceiling type of that room to Sloped, and set the ceiling to be the same slope as the staircase.
-
If you used the default slope for your stairs and the room takes up the whole area under the stairs, enter 4" for the short wall and 8' for the tall wall.
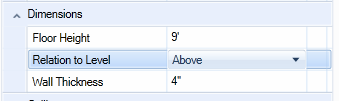
- Set the Floor height to 9' Above so that it combines with the stairs above it.
- Check the orientation of your room to make sure the slope of the ceiling lines up with the slope of the stairs. The arrows from your room should line up with the arrow from the stairs.
- Change the orientation of the room if needed:
- Select the room.
- Click
 Orientation in Tools .
 - Select the wall you want to make the Short wall.
- Add a door either in or near the Tall wall.
You have now successfully added a room under the stairs. To verify your work, view the sketch in 3D mode, and select All levels.
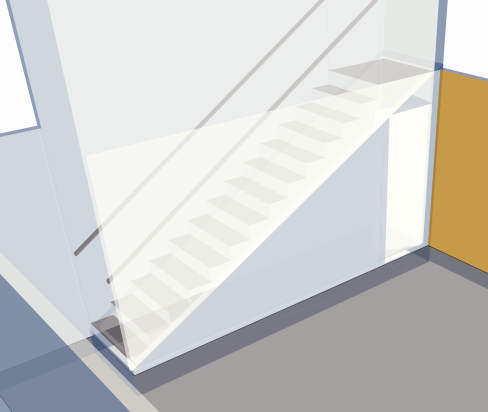
For another view, click the Outline option.
